Welcome to the documentation of the User Absence Planner App for Jira. With the User Absence Planner users are able to plan, coordinate and communicate their out of office times.
If you just installed the app, see the Getting Started Guide below.
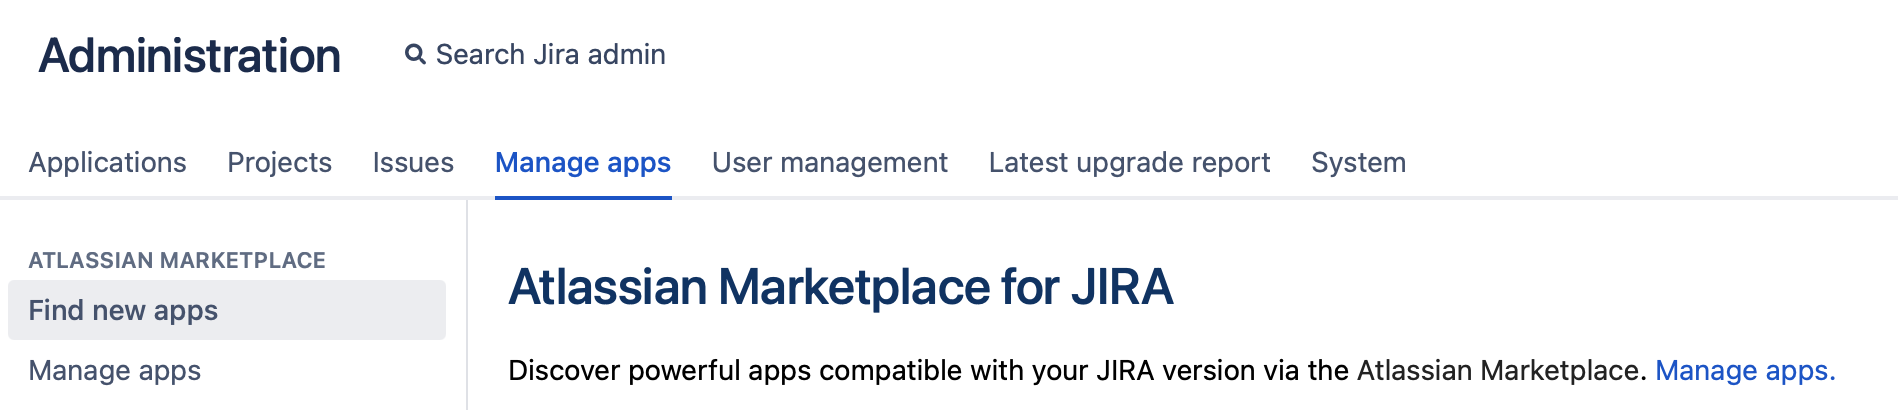
First, either download and install the app directly from the Marketplace integration in your Jira instance (System Administration → Manage Apps → Find new Apps) or download the .jar File from the Marketplace and install it via System Administration → Manage Apps → Upload App.
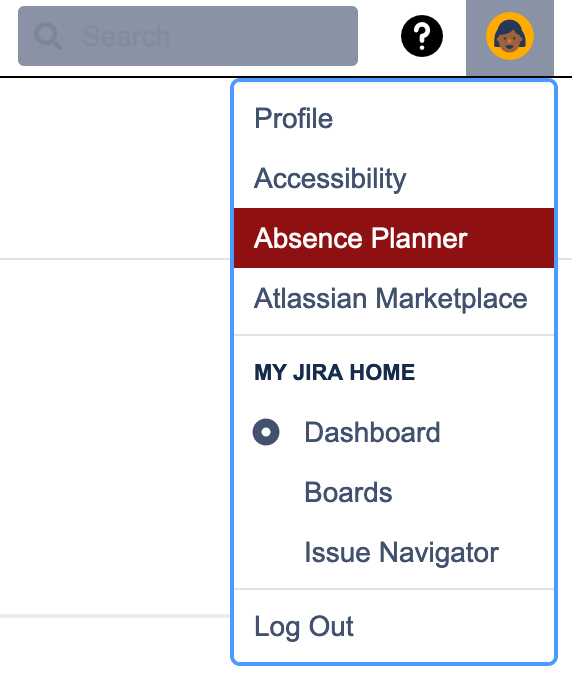
After installing the app you will already be able to access the Absence Planner in the user profile.

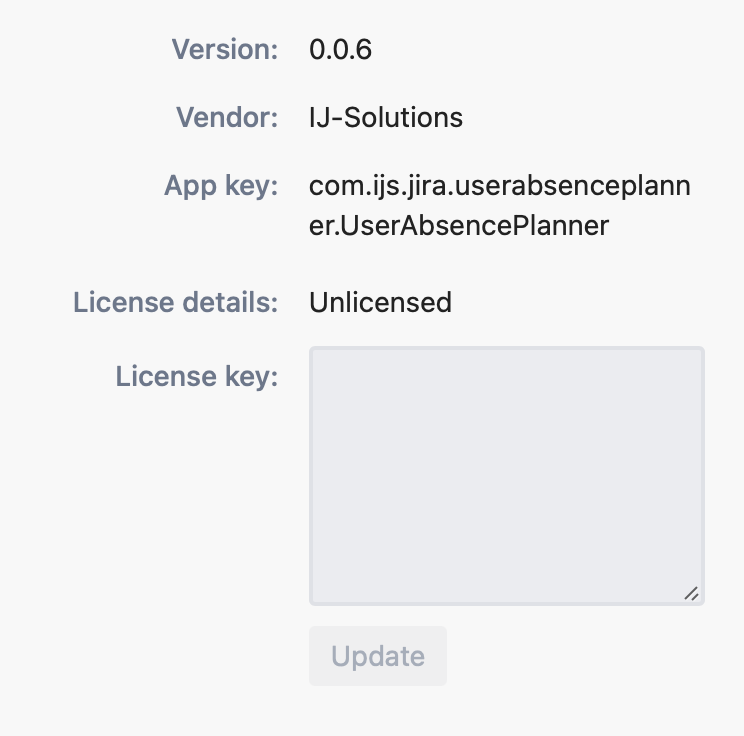
However, you won’t be able to add an absence. Instead of the add button you will see a red
| Status | ||||
|---|---|---|---|---|
|

Adding an absence will not be possible as long as you didn’t add either an evaluation or a purchased license to the app on the Manage Apps screen in the Jira system administration. We recommend to test the app with an evaluation license before you purchase it.

After adding a valid license, the app listing in your Jira instance will look like this.
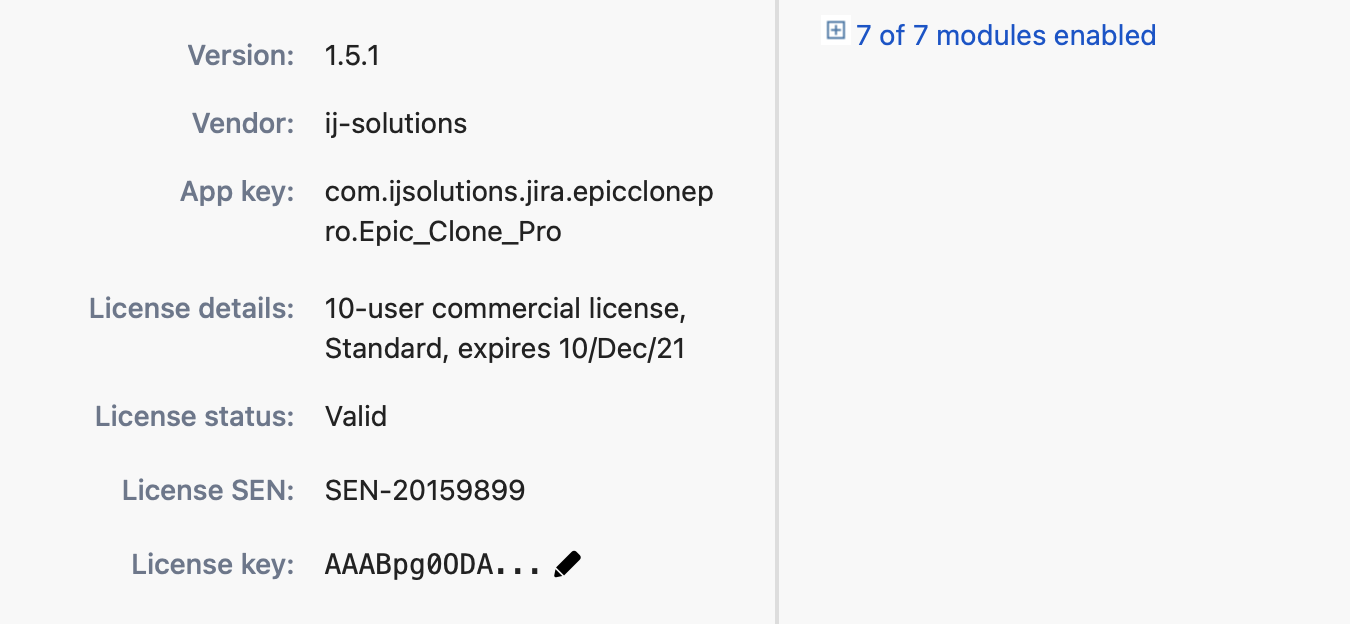
With a valid license users will be able to add absences and show their team members when they won’t be available.
| Info |
|---|
If you face any problems with the described procedure, experience a bug in the app, if you have an idea for improvement or if you have another topic you want to talk about, feel free to visit our service management or contact us via support@ij-solutions.atlassian.net |